Objective
Just to document my set up so I can come back and refer to it. And for this to be newbie friendly.
To set up an online cloud environment to run Stable Diffusion to create AI video (with ComfyUI and AnimateDiff).
It would save me money via:
- Electricity Cost
- Graphic Card (which will depreciate overtime with new technology)
Real life reason:
I ran out of memory and it crash my queue when I was doing AnimateDiff. 6GB VRAM on my laptop wasn’t enough and it took over 16 hours to run a partial portion of it.
Cloud Provider
I use Runpod because that’s the first option I’ve found.
I also found a tutorial on setup via youtube: ComfyUI AnimateDiff Prompt Travel: Runpod.io Cloud GPUs Tutorial by c0nsumption
Setting up a Pod (a GPU cloud instance)
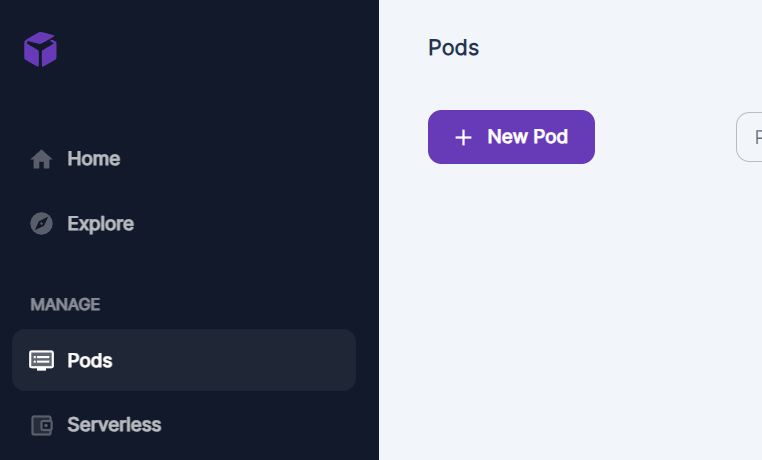
To start spinning up a new instance first click on the ‘New Pod’ option over at the console.
Pod Console
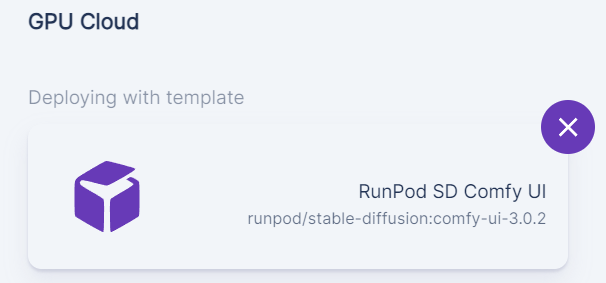
Pod Template
Make sure Pod Template is set to: ‘RunPod SD Comfy UI’
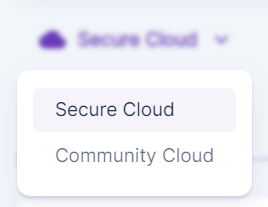
Pod Cloud Type
Select cloud type using the Cloud Type drop down filter menu. I chose the ‘Community Cloud’ option because it’s cheaper.
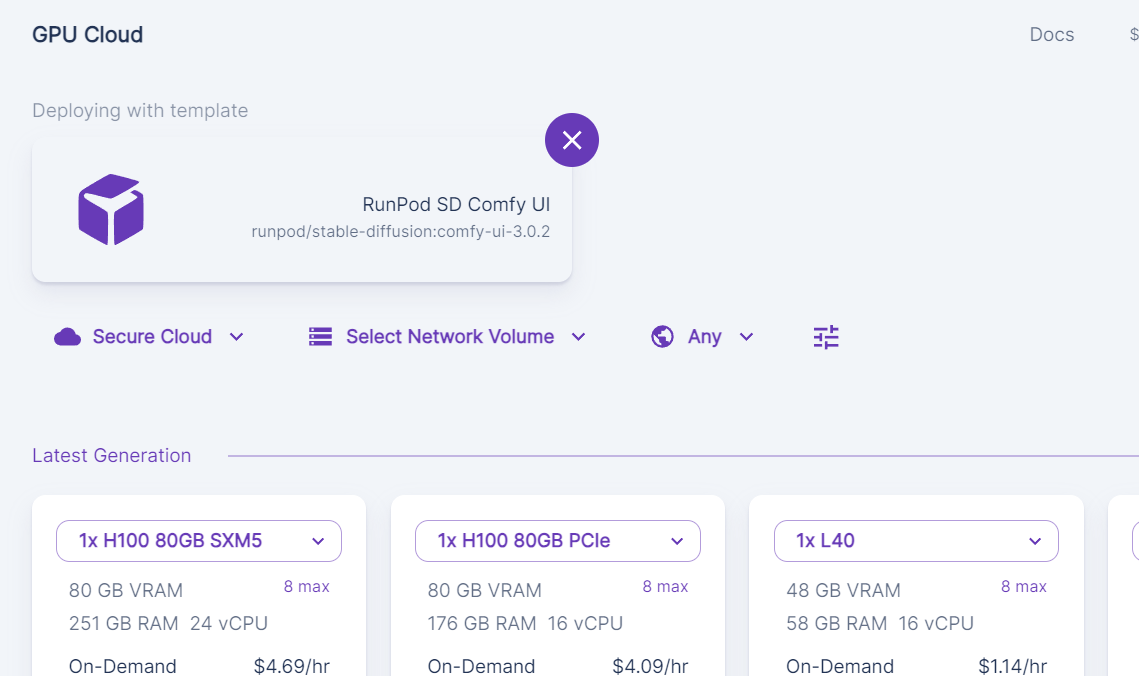
Select GPU
I chose this option for my first run.
Click the option, ‘Customize Deployment’.
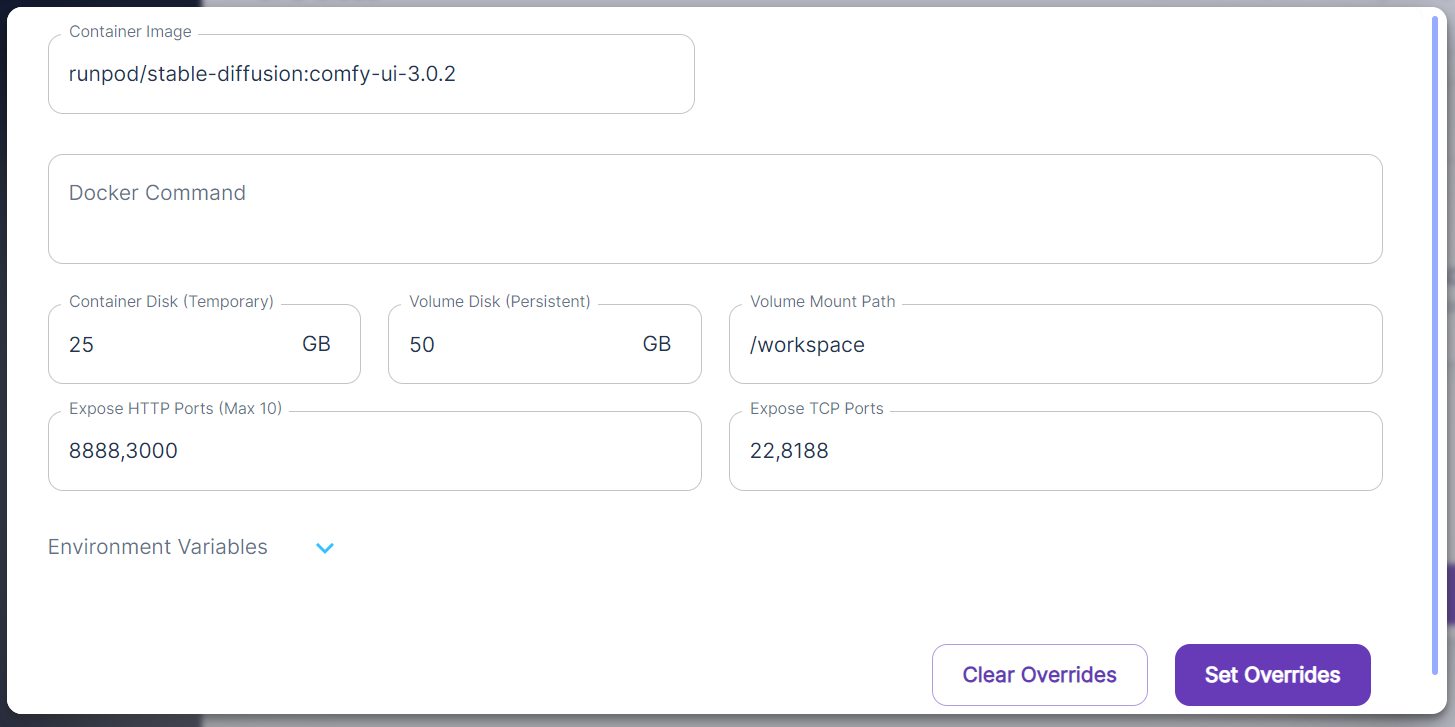
And change Container Disk to 25GB. Some installation package will eat up more than 5GB (default).
Click the option, ‘Deploy’.
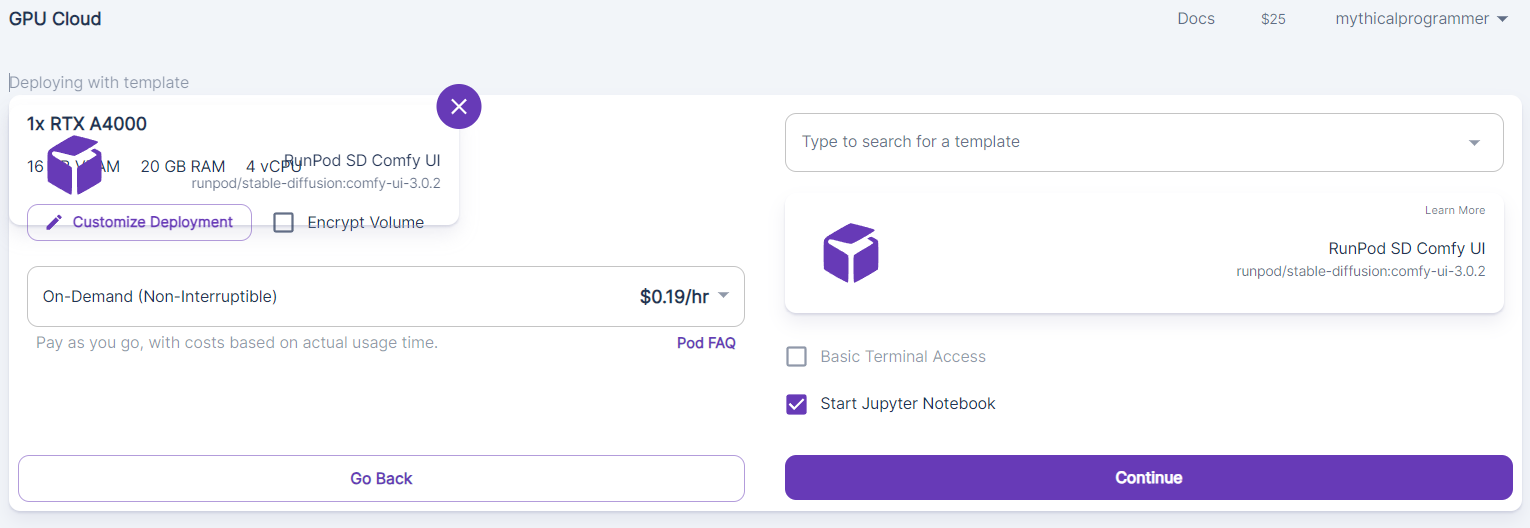
You will end up with the next menu, check all the option is correct. Make sure the ‘Start Jupyter Notebook’ checkbox is checked. Once confirming that the GPU instance configurations is correct click on the button, ‘Continue’.
Deploy GPU Instance
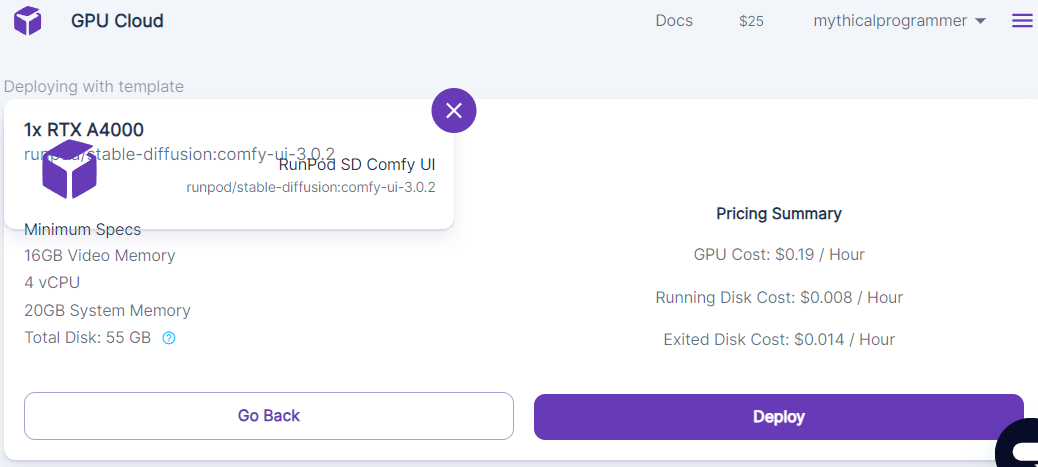
Look over the pricing summary for the extra/hidden cost on top of the GPU pricing rate. Once you’re okay with the total cost, click on the button ‘Deploy’.
It’ll redirect you to the Pod Console where your new instance is now created but not started.
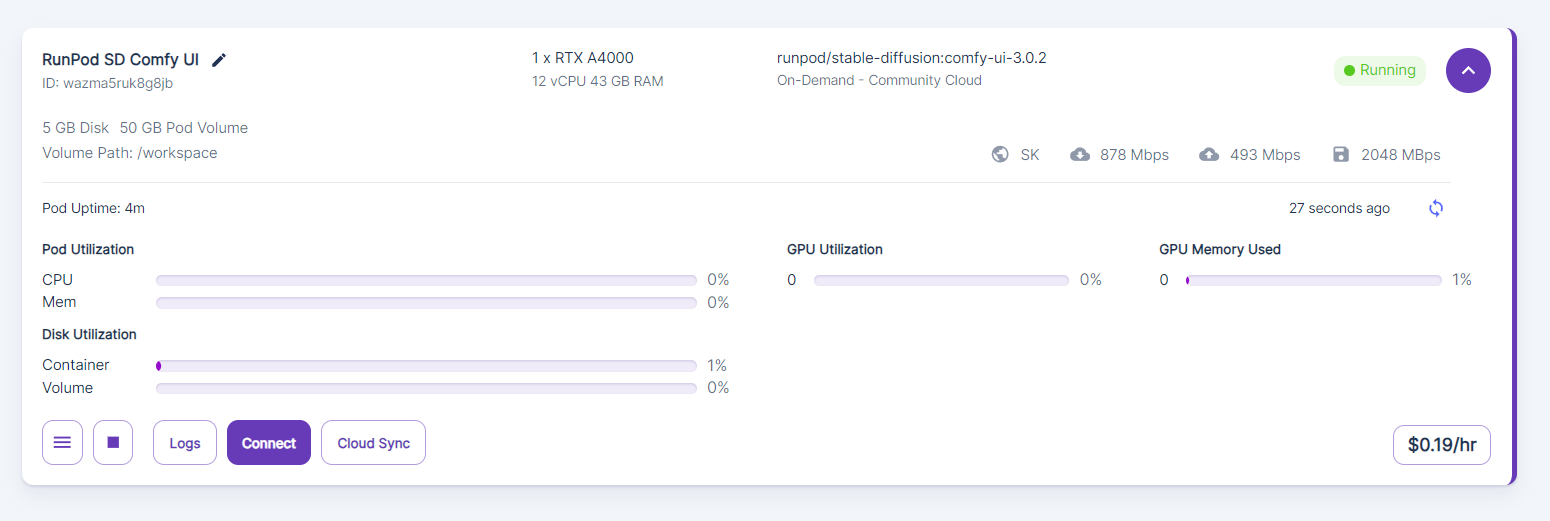
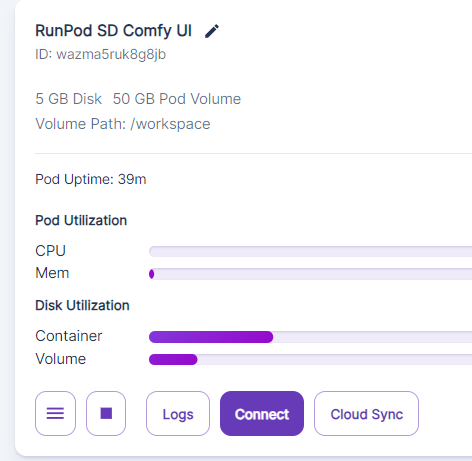
More info on the pod by clicking the purple arrow button.
Pod Customization
Set up ComfyUI port 8188
IMPORTANT
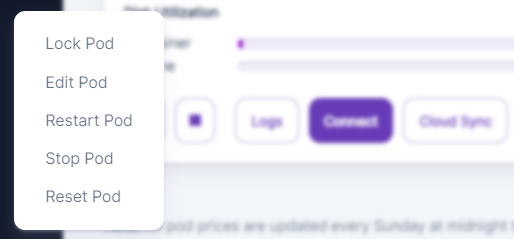
Click on the hamburger button (the three horizontal line button) aka More Actions.
Select ‘Edit Pod’.
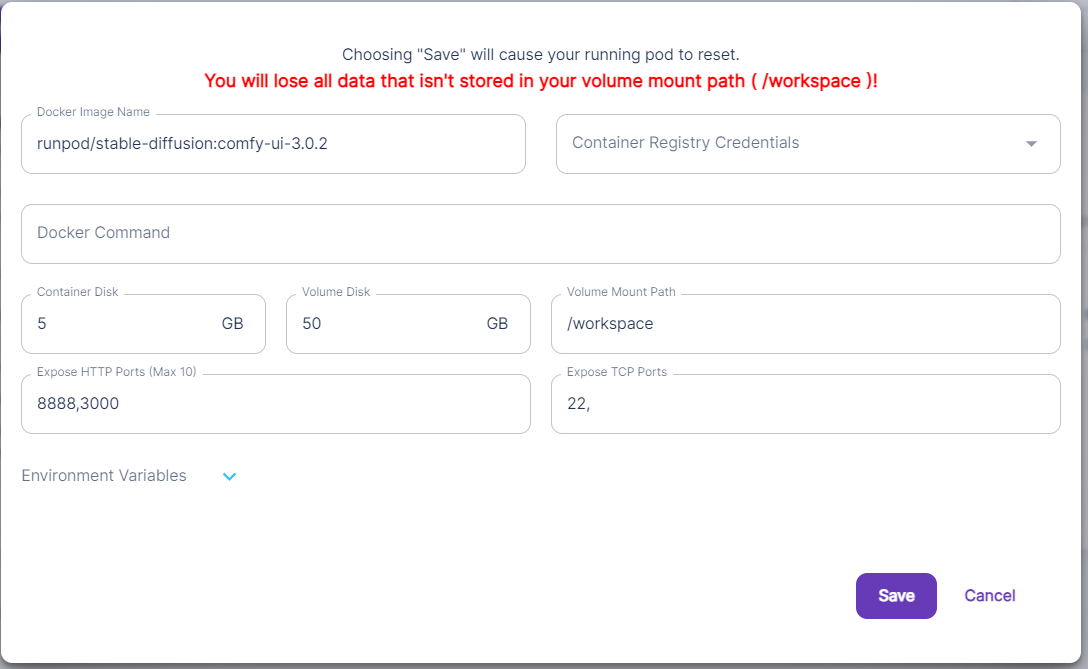
You should get this menu.
- From the menu above, locate ‘Expose TCP Ports’.
- Add 8188 to that field. Note you should now have ‘22,8188’ (see picture below).
- Port 8188 is the default ComfyUI port.
Click Save.
Pod ComfyUI Setup
Connect to Juypter
Click on the ‘Connect’.
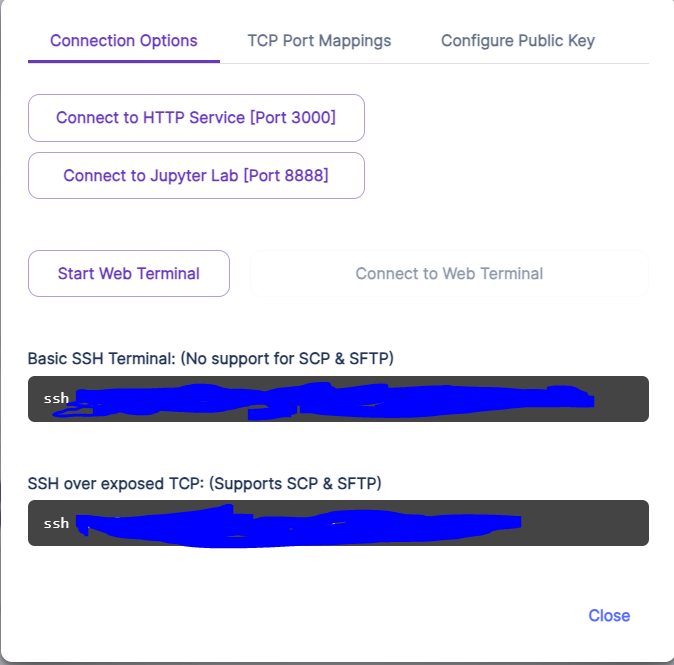
You’ll get this menu:
Select the option Connect to Jupyter Lab [Port 8888]. This will open a new tab in your browser with Jupyter Lab.
Jupyter Lab Terminal
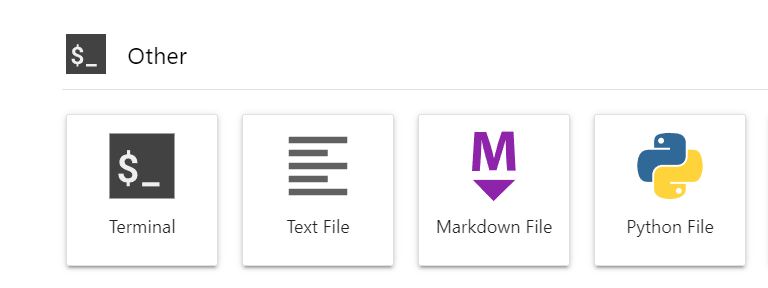
From the Other menu, select the Terminal option.
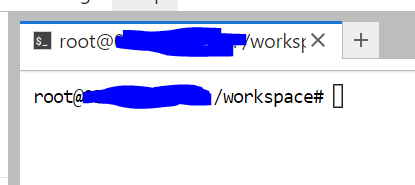
From here you should get this terminal:
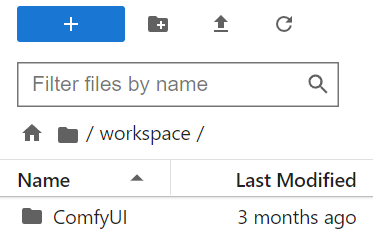
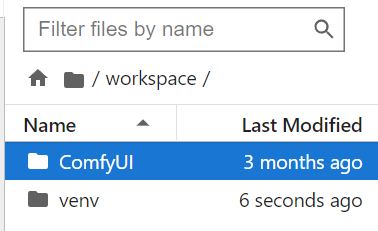
NOTE/WARNING: Anything in the /workspace directory will persist and exist after you stop your instance. Anything outside of this folder will not persist.
Setup Python Virtual Environment
Type below into Jupyter’s terminal:
|
|
Activate virtual environment:
|
|
Latest ComfyUI version
Get the latest ComfyUI version.
|
|
ComfyUI setup Nvidia
Following the Linux Nvidia installation instruction.
Type the commands below in Jupyter Terminal:
|
|
Then do this:
|
|
ComfyUI Manager Installation
Go to the custom_nodes folder:
|
|
Once in the custom_nodes folder, we going to do git clone.
|
|
Start ComfyUI
|
|
Connect to ComfyUI
Go back to Pod Console, click on the Connect button.
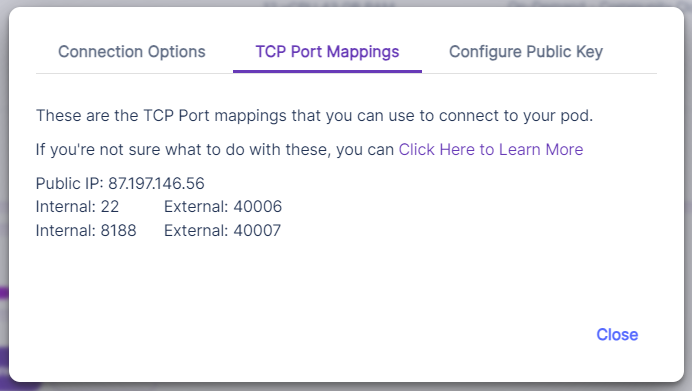
Notice the Public IP and External port across from Internal port 8188 (ComfyUI default port).
That’s how you get you to comfyui in your browser:
Public IP:External
Public IP:40007
Download Models from Civic AI
Make sure you close ComfyUI if it’s running.
At the Jupyter Terminal shortcut, Ctrl + c.
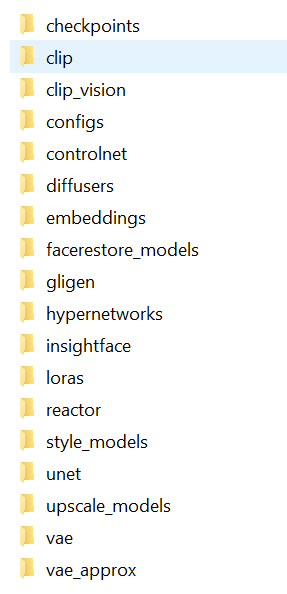
Go to the ComfyUI models folder:
|
|
Checkpoint Models
Go to checkpoint model directory:
|
|
You can list all that’s inside the folder with ls.
Go to Civic AI and find a checkpoint model you like
Make a Civic AI account (it’s free).
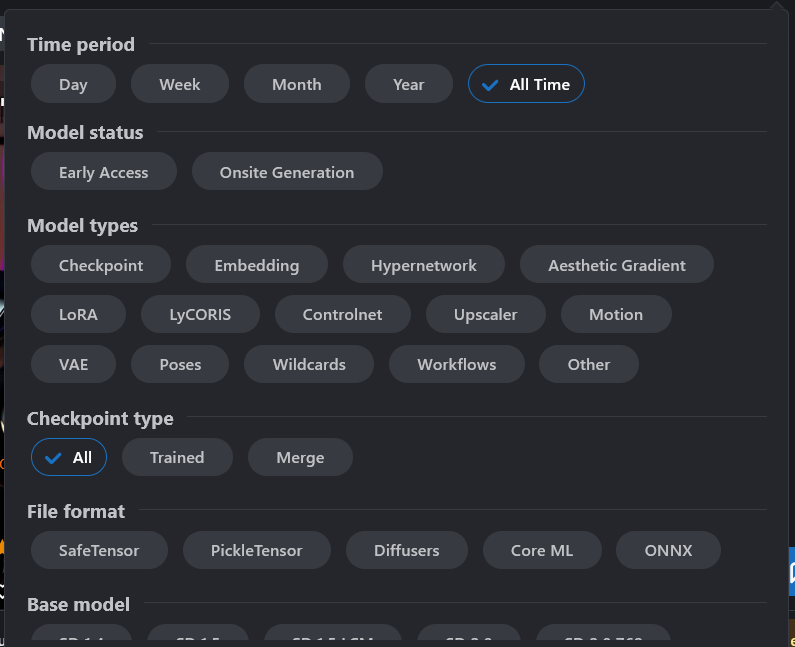
For the search option click on the Filters option.
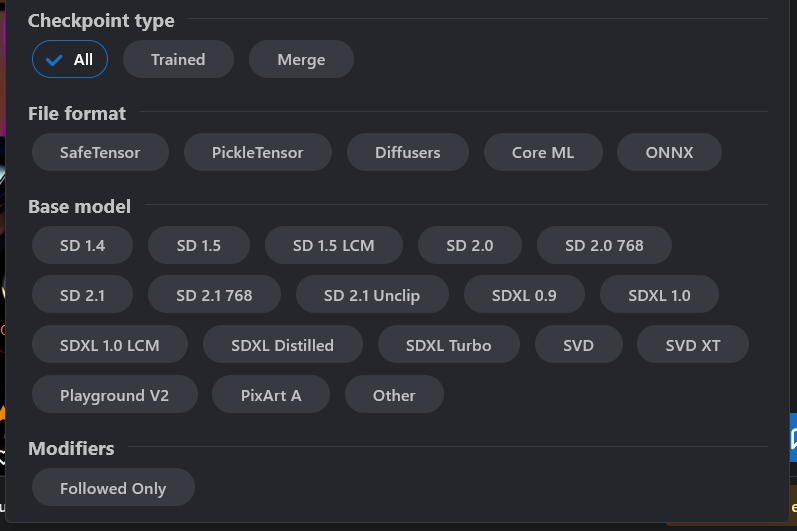
These are all the options in the Filters option menu (make sure you scroll down for more options):
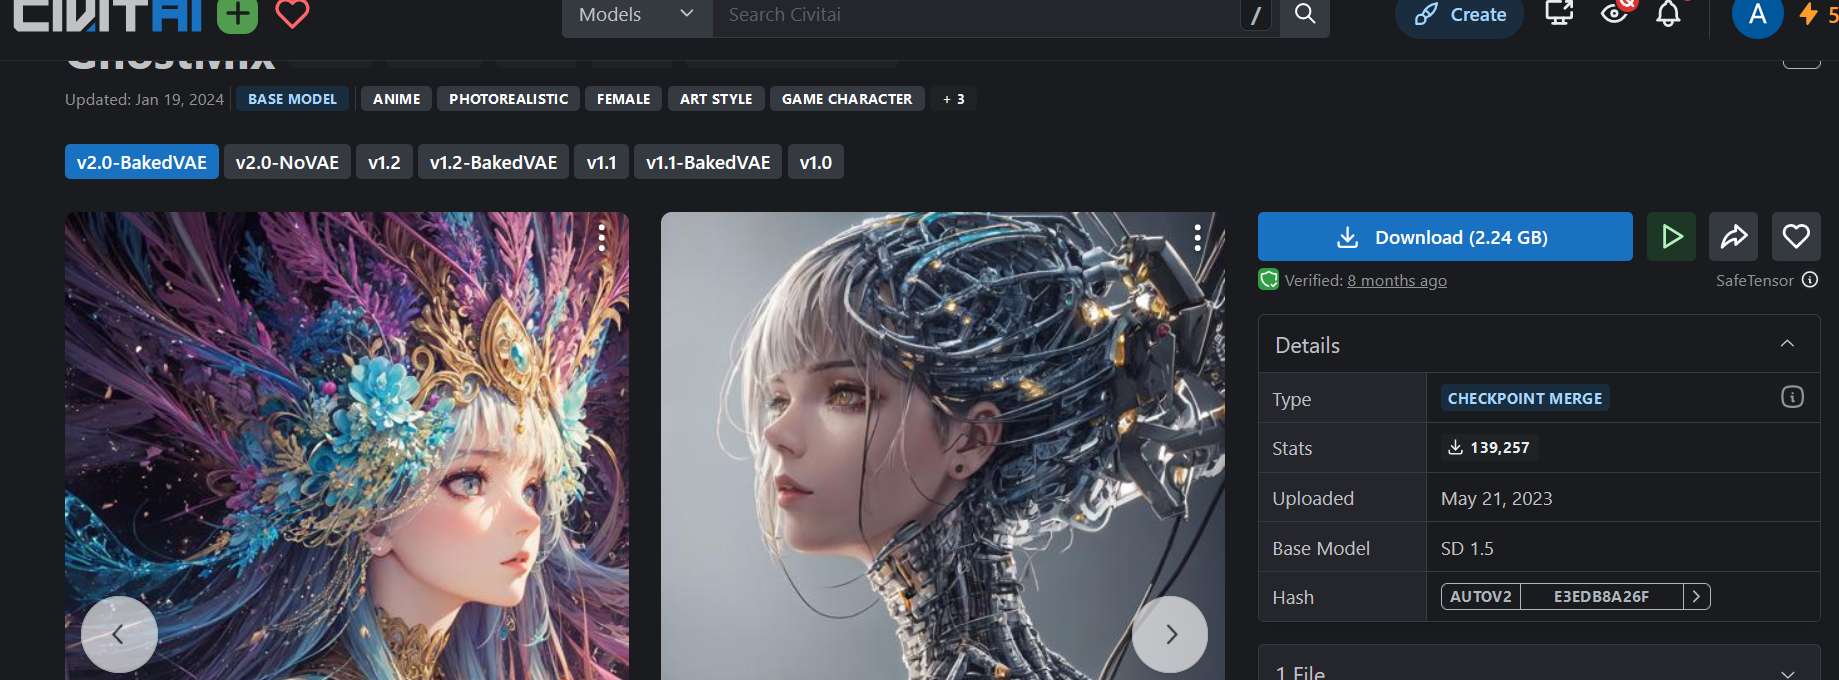
My chosen checkpoint, GhostMix, for this tutorial:
Click on it to head to the main page of chosen checkpoint.
right click on the Download button and select Copy Link.
The link address should be copied and it should be this:
|
|
Find out the file name of the check point by downloading it to local computer and cancel the download:
File name:
ghostmix_v20Bakedvae.safetensors
Download Chosen Checkpoint into your pod
Head over to your pod Jupyter Notebook’s terminal.
Make sure you are in the checkpoint folder.
|
|
Now download the chosen model:
|
|
So the format is:
|
|
Type ls to make sure the model is downloaded.
Starting Workflow
Start up Python’s virtual environment
|
|
Start up ComfyUI
|
|
`
Conclusion
So that’s basically it for the set up.
Now you need a workflow and download models that the workflow require. I’ll make another post on AnimateDiff workflow using this base setup.

